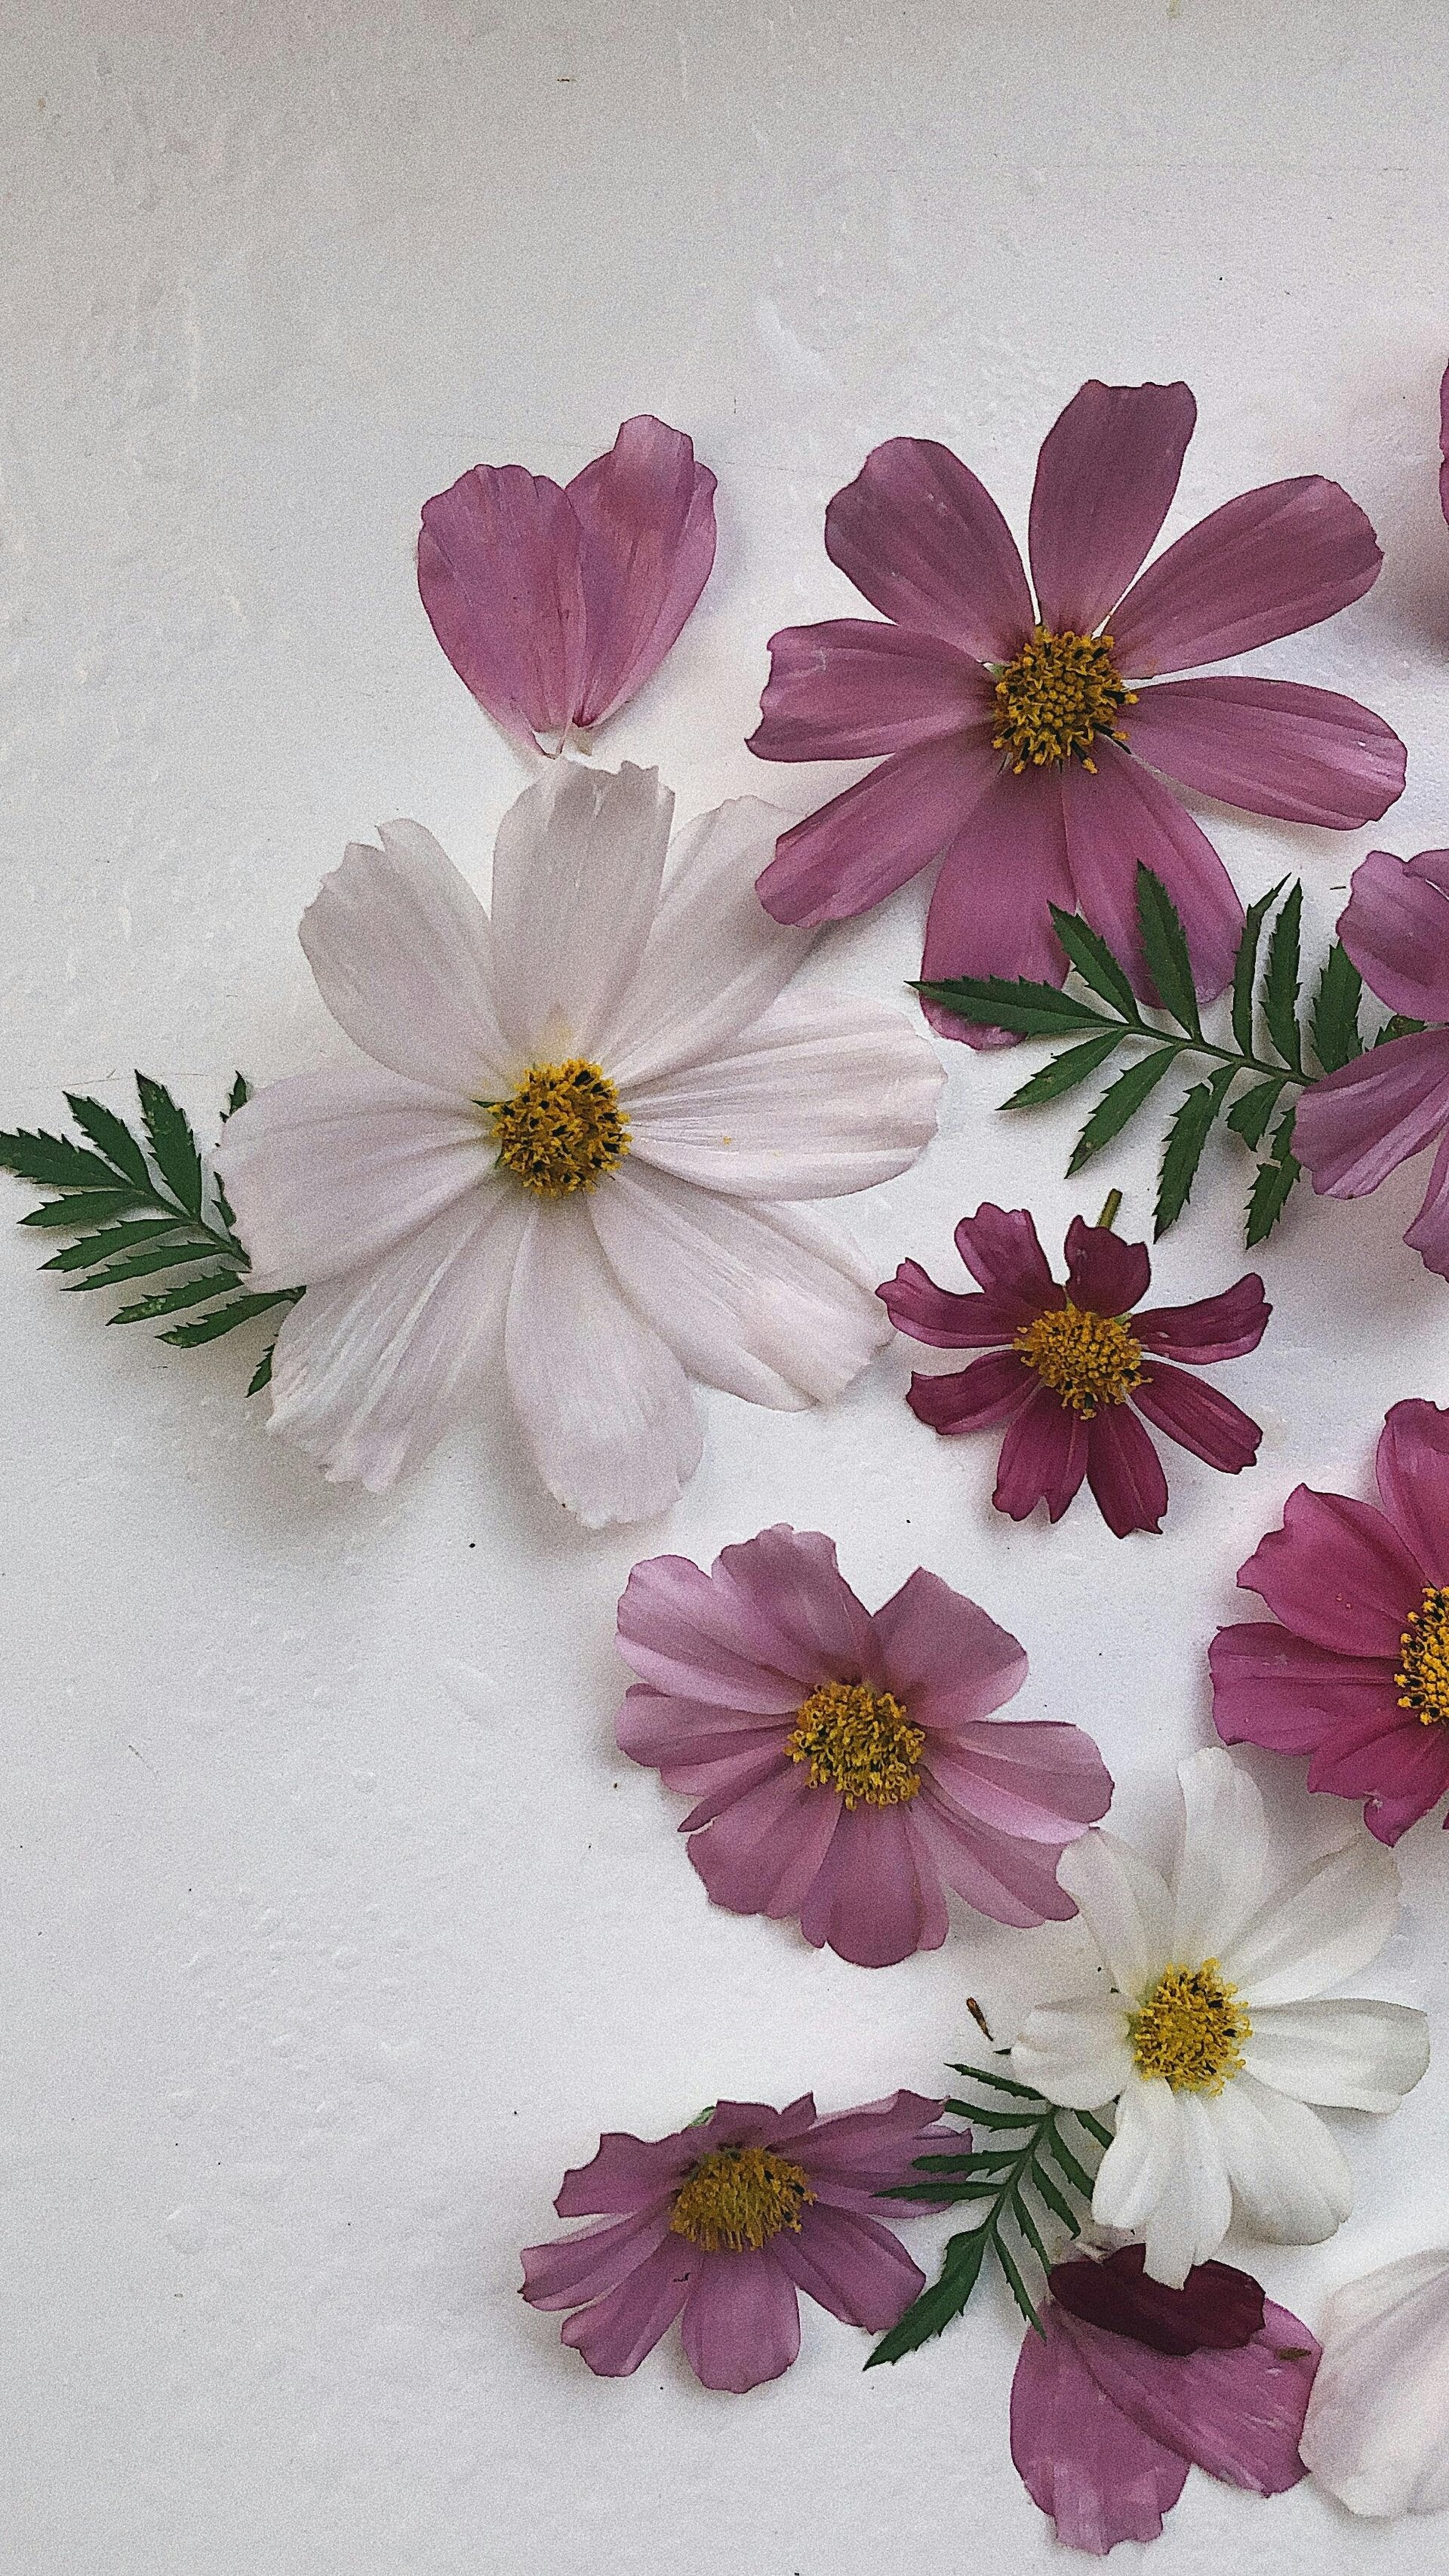
Petal Power: Pressed Flower Art
Have you ever looked at a breathtaking bouquet, a wild roadside dandelion, or a cute little violet sprouting from a crack in the sidewalk and thought, "I wish I could freeze you in time forever, but without turning you into a spooky, decaying zombie flower"?
Enter flower pressing! It is the ultimate craft for sentimental souls, lazy gardeners, and anyone who loves turning nature into flat, fabulous art. Plus, it requires zero green thumb—just a little patience, a heavy object, and a flair for the dramatic.
Whether you are looking to preserve a wedding bouquet, capture the fleeting magic of spring, or simply find an excuse to buy more books to use as weights, here is your ultimate, playful guide to mastering the art of flower pressing and unleashing your inner botanical designer.
Step 1: Selecting Your Specimens
Before you go crushing every petal in sight, let’s talk botany basics. Not all flowers are created equal when it comes to the pressing process. Some blossoms embrace the press like long-lost best friends, while others put up a fight (and mold).
- The Superstars: Pansies, violas, cosmos, ferns, daisies, and single-layer roses flatten like an absolute dream. They have flat, delicate faces that love a good squeeze.
- The Divas: Succulents, thick orchids, and chunky peonies? Proceed with caution. Their high-water content means they are more likely to turn into a sad, brown science experiment than a pretty keepsake. If you must press a thick flower, try gently dissecting the petals first or using the microwave trick (more on that in a second).
- Pro-Tip: Pick your flowers on a dry, sunny afternoon after the morning dew has evaporated. Wet flowers equal soggy, moldy paper tragedies, and nobody has time for botanical heartbreak.
Step 2: The Battle of the Methods
How do you achieve ultimate flatness? Here are the top ways to flatten your floral squad, depending on your personality type.
1. The Classic Heavy Book Method (The Slow & Steady Yogi)
This is the OG method your grandma probably used, and it is still a classic for a reason. All you need is a massive dictionary, an encyclopedia you never look at, or a towering stack of college textbooks.
- How-to: Lay down a piece of parchment paper or plain white copy paper inside the book. Arrange your flowers face-down, leaving a little breathing room so they don’t become permanently fused together. Lay another piece of paper on top, gently close the book, and place a few more heavy books on top for good measure.
- The Wait: Leave them alone for two to four weeks. Go read a book. Learn a language. Forget they are there until you open the book like a magical time capsule of joy.
2. The Microwave Magic Method (The Impatient Crafter’s Dream)
Do you have zero chill and want your pressed flowers right now? The microwave is your new best friend.
- How-to: Take two ceramic tiles (or microwave-safe glass plates), place a layer of cardboard, then parchment paper, your flowers, more parchment, and another piece of cardboard. Secure the whole stack tightly with rubber bands. Microwave in short, 20-to-30-second bursts, checking in between to let the steam escape. Don't overdo it, or you’ll end up with crispy, brown floral chips instead of vibrant petals!
3. The Wooden Flower Press (The Aesthetic Choice)
If you want to feel like a fancy Victorian botanist while sipping iced coffee in your pajamas, invest in or build a wooden flower press. Tightening those wing nuts gives you a deeply satisfying sense of control over your craft projects.
Step 3: Unleashing Your Inner Artist (What to Do With Them!)
Now that you have a stash of crisp, colorful, paper-thin botanical goodies, what’s next? Let’s turn your flat foliage into masterpieces!
- Framed Botanical Art: Grab a floating glass frame, arrange your pressed flowers into a whimsical, sprawling garden scene, and hang it on your wall. Instant, effortless cottagecore aesthetic achieved.
- Resin Magic (Phone Cases & Trinket Trays): Encapsulating pressed flowers in clear epoxy resin lets you carry your floral art everywhere you go. Protect your phone with daisies or turn a plain ceramic jewelry dish into a blooming meadow.
- Handmade Stationery, Junk journals & Bookmarks: Lamination is your superpower here. Place pressed pansies and ferns between two sheets of laminating film, run them through a thermal laminator, and trim the edges. Boom—you have gorgeous bookmarks that make you want to read just so you can look at them.
- Candle Couture: Stick pressed flowers onto the outside of a plain pillar candle, then melt a thin layer of wax over them using a heat gun or a warm brush. (Safety note: Keep an eye on them when burning, so the petals don't catch fire—safety first, floral beauty second!)
Flower pressing is part science, part magic, and 100% fun. It forces us to slow down, notice the intricate details of the natural world, and preserve a little slice of sunshine for the gloomy days ahead. So, grab some parchment paper, raid your yard or local flower shop, and start flattening. Your inner artist (and your blank walls) will thank you!
Add comment
Comments