Making Catnip Toys
There are roughly 33 to 37% of U.S. households with at least one cat as a household member. Which makes it a good bet you either have a cat yourself, or you have someone on your gift list with cats. Making your own toys is very rewarding and a lovely gesture for family and friends who are feline lovers. If you have fresh catnip growing in your garden, crafting a custom catnip toy is a wonderful, rewarding project. Not only does it allow you to bypass the synthetic fillers found in many commercial pet store toys, but it also gives your feline companion the purest, most potent herbal experience possible.
Whether your cat is a mellow snuggler or a frantic kicker, a homemade fabric toy stuffed with freshly dried homegrown catnip will have them purring with delight. Best of all, drying your own catnip at home is surprisingly simple, requiring just a bit of fresh harvest and your kitchen oven. Let’s walk through the complete process from garden snip to playtime bliss.
Harvesting Your Catnip at Its Peak
The secret to an irresistible catnip toy lies in the quality of the herb itself. Catnip (Nepeta cataria) is a robust member of the mint family, featuring fuzzy heart-shaped leaves and delicate white or pale purple flowers. For the highest concentration of essential oils—the aromatic compounds that trigger that euphoric feline reaction—harvest your catnip just as the plant begins to bud, preferably in the morning after the dew has evaporated but before the afternoon sun beats down.
Use clean garden shears or scissors to snip the stems about two inches above the soil line, encouraging bushier new growth later in the season. Gather a generous bundle of healthy, unblemished stems. Once you bring your harvest indoors, gently rinse the sprigs in cold water to remove any garden dust or tiny beneficial insects, then pat them completely dry with clean kitchen towels.
The Oven Drying Method: Fast and Fragrant
While traditional air-drying by hanging bundles upside down is wonderfully rustic, it can take a week or more and risks mold if your kitchen is humid. Oven drying is a fantastic, rapid alternative that locks in the vibrant green color and potent aroma in under an hour.
- Preheat to the Lowest Setting: Set your oven to its lowest possible temperature, ideally between 170°F and 200°F (75°C to 90°C). If your oven runs hot, prop the door open slightly with a wooden spoon to prevent scorching the delicate leaves.
- Prepare the Baking Sheet: Line a large rimmed baking sheet with unbleached parchment paper.
- Strip and Arrange the Leaves: Gently strip the leaves and tender flower tops from the tough woody stems. Discard the stems. Spread the leaves in a single, even layer across the parchment paper. Avoid overcrowding, as good airflow ensures even drying.
- Dry with Care: Place the baking sheet in the oven. Check the catnip every 15 minutes, gently stirring or flipping the leaves with your fingers. Depending on your oven's temperature and humidity levels, the drying process will take between 30 to 45 minutes.
- Test for Doneness: The catnip is ready when the leaves crumble easily between your fingers into a crisp, fragrant flake. Remove the pan from the oven immediately and let the herbs cool completely on the counter.
Sewing the Simple Catnip Toy
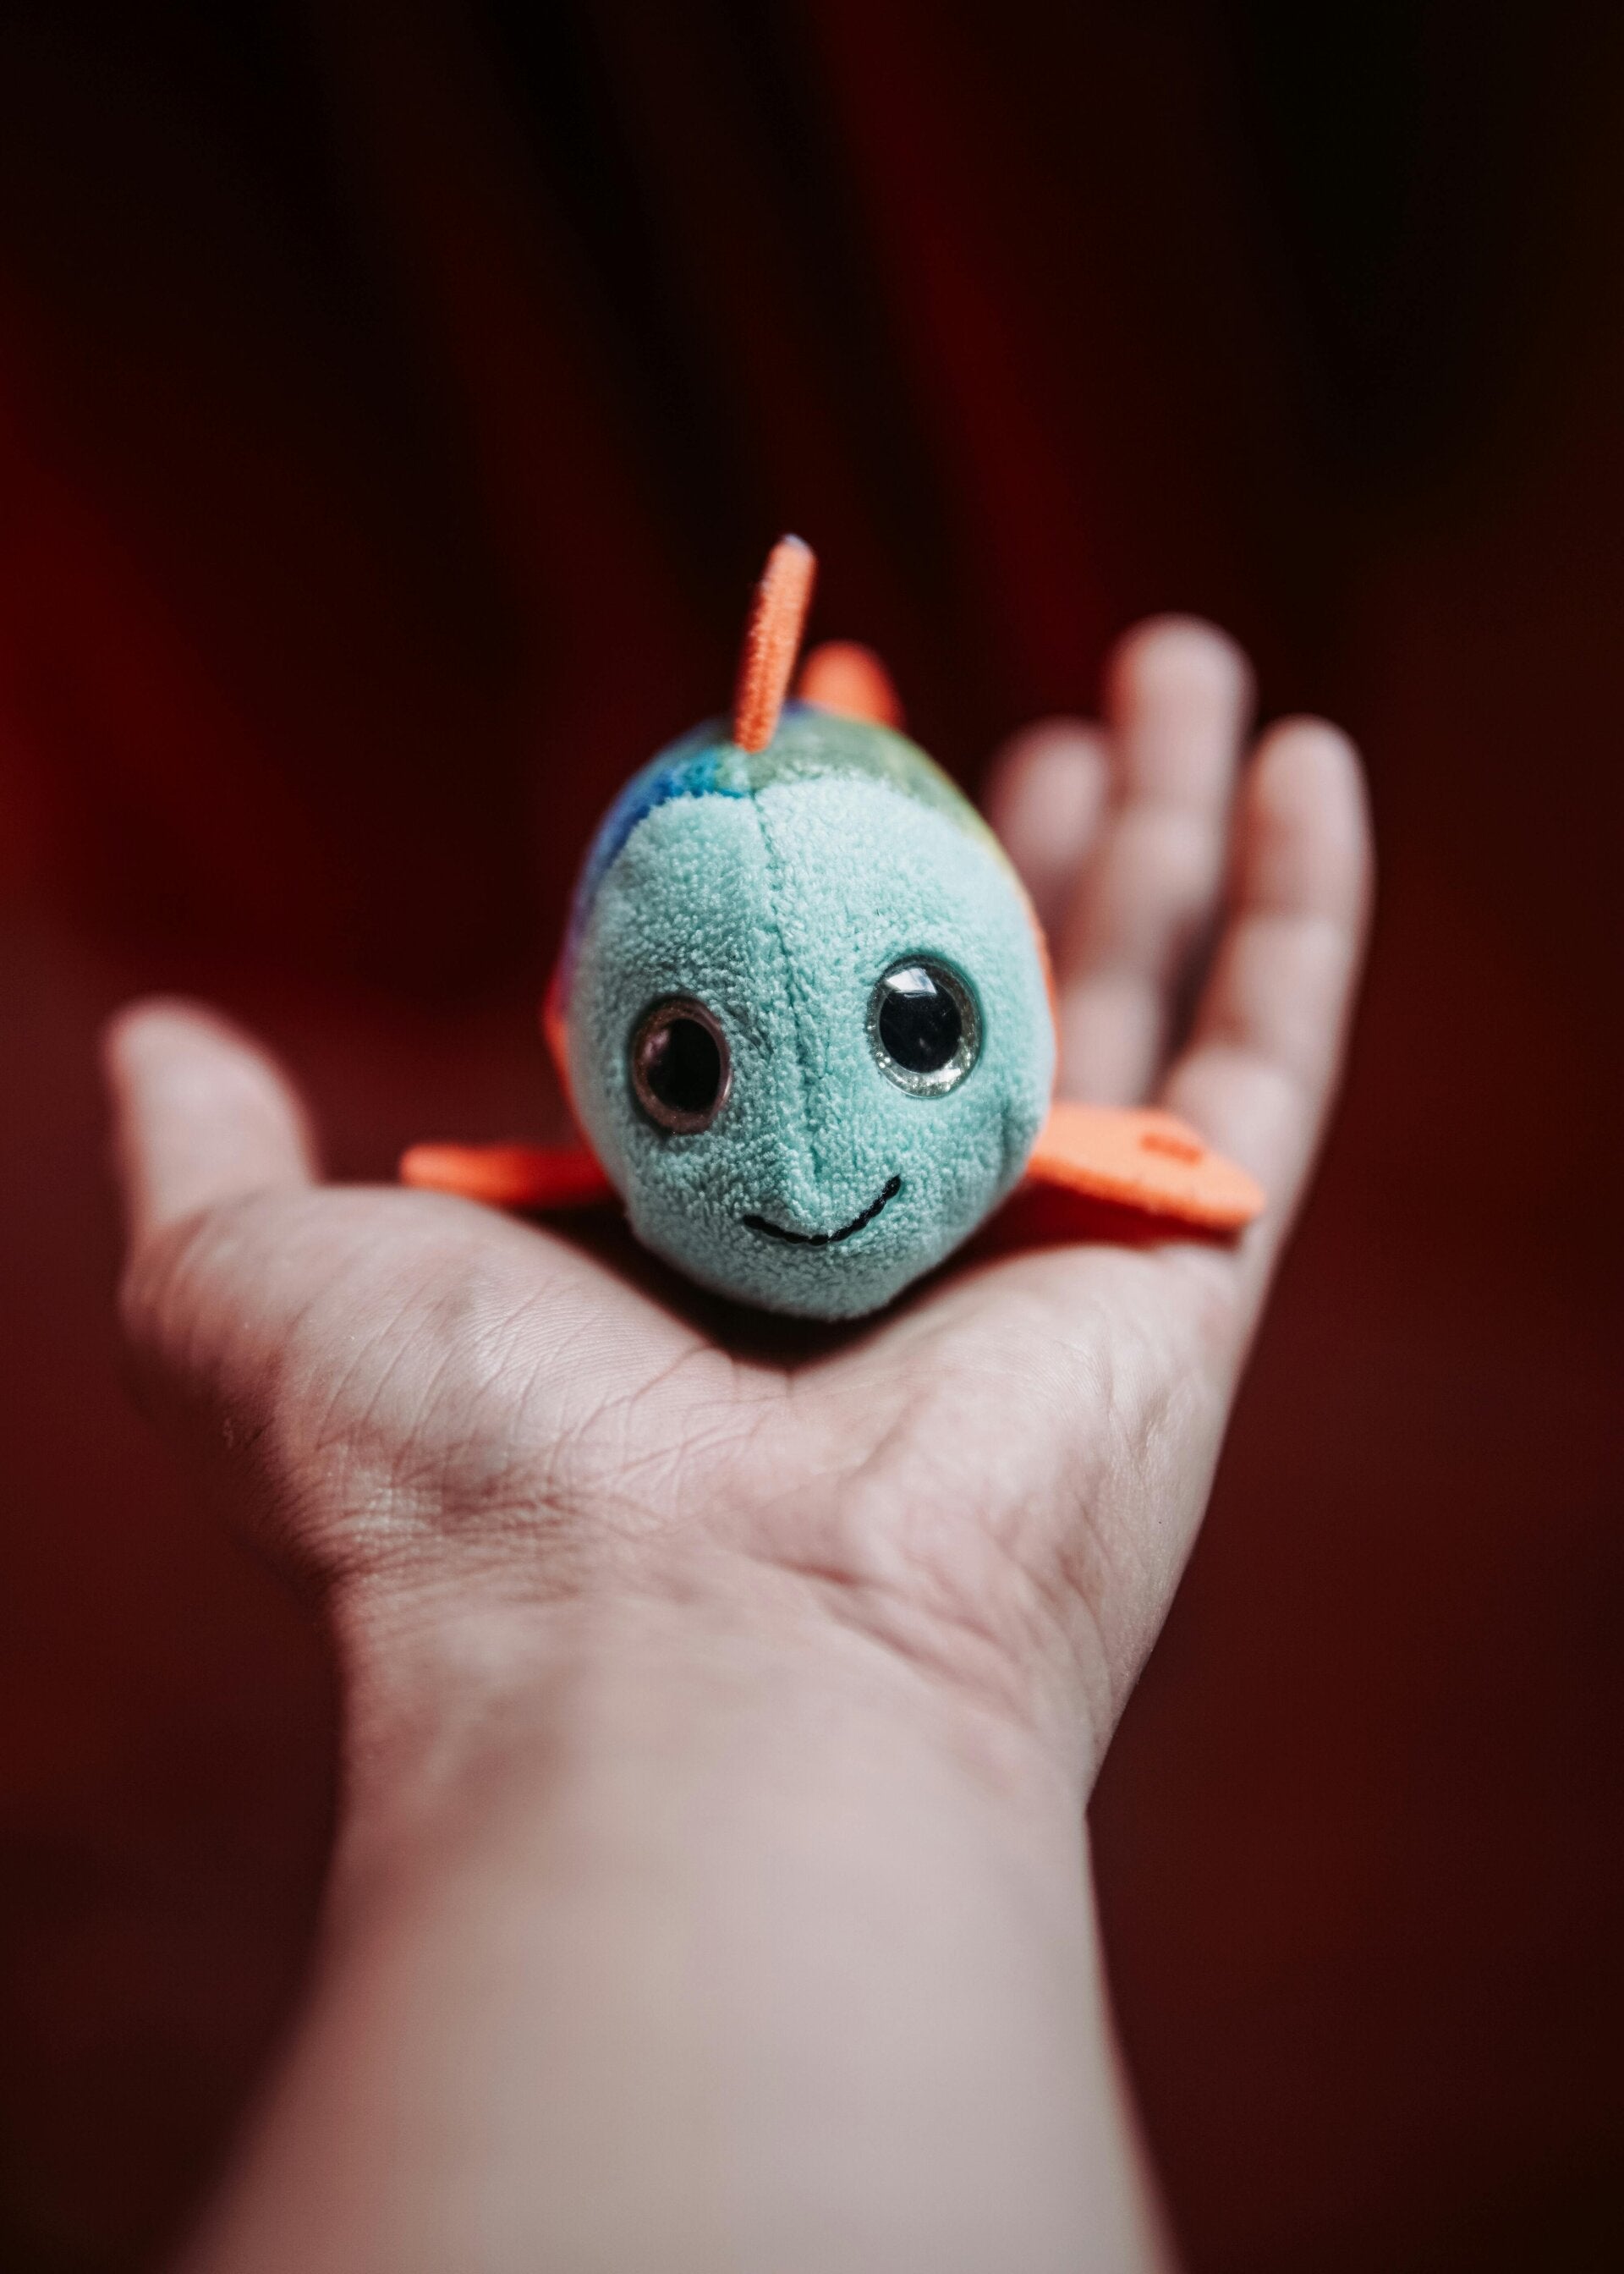
Now that you have your gorgeous, homegrown dried catnip, it is time to assemble the toy! You don’t need advanced sewing skills for this project. To make a fun fish toy, you can trace out a simple pattern template; fish, mouse, or whatever you please.
Materials Needed:
- Scrap pieces of durable cotton, felt, or flannel fabric
- Matching thread and needle (or sewing machine)
- Your freshly dried catnip (about 2 to 3 tablespoons per toy)
- A small handful of organic cotton stuffing or poly-fill (optional)
- A small funnel or paper cone for easy stuffing
- Trace and Cut Your Pattern: Print or trace the pattern template onto paper, cut it out, and pin it to your folded fabric. Cut two identical shapes out of your fabric.
- Stitch the Edges: Place the two fabric pieces together with the pretty sides (right sides) facing inward. Stitch around the perimeter using a tight, sturdy running stitch or machine seam, leaving a small 1.5-inch opening at the top or tail base for stuffing.
- Turn and Stuff: Turn the fabric pouch right-side out through the opening. Use a blunt tool like a chopstick to gently push out the nose and tail corners. Using your funnel, fill the pouch with a blend of your dried catnip and a touch of stuffing if you want a plumper toy.
- Secure the Opening: Fold the raw edges of the opening inward and pin them shut. Securely hand-sew the opening closed with a double-threaded whip stitch, ensuring no loose threads or gaps remain for curious claws.
Presenting the Masterpiece to Your Cat
Once your handmade creation is fully stitched, give it a gentle squeeze to release the aromatic oils trapped inside the crushed leaves. Handing the toy over to your resident cat is the ultimate reward. Watch as they rub against it, toss it in the air, and purr with absolute contentment. Crafting with your garden harvest is a simple pleasure that brings endless joy to both gardener and cat alike!
Add comment
Comments